Fresh from the blog
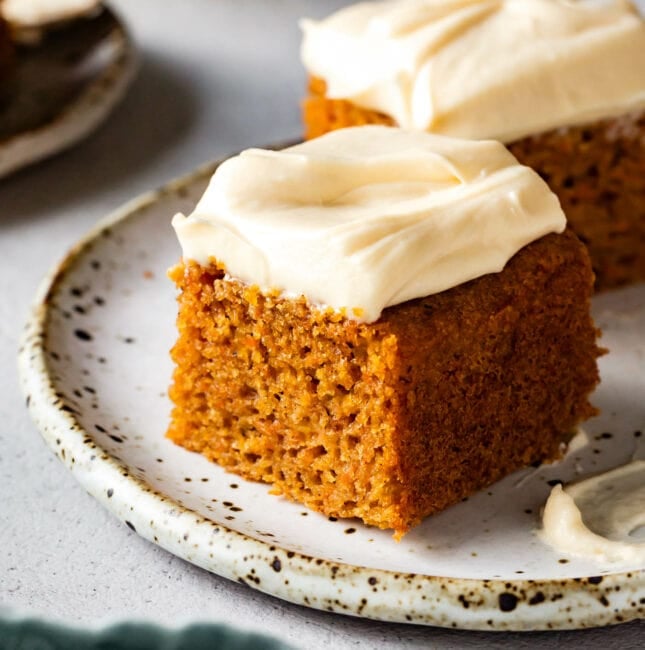
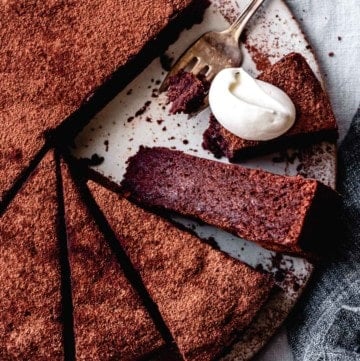
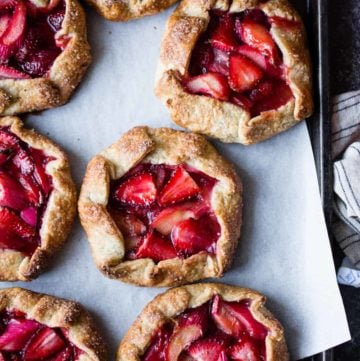
Reader-Favorite Gluten-Free Recipes
Not-sad gluten-free recipes made from a variety of flavor-packed, good-for-you flours and whole foods. Tested to perfection with loads of 5-star reviews.
See more gluten-free recipes →
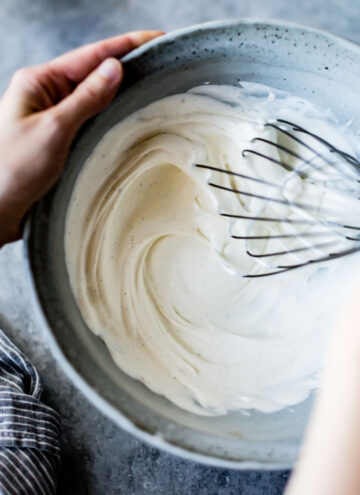
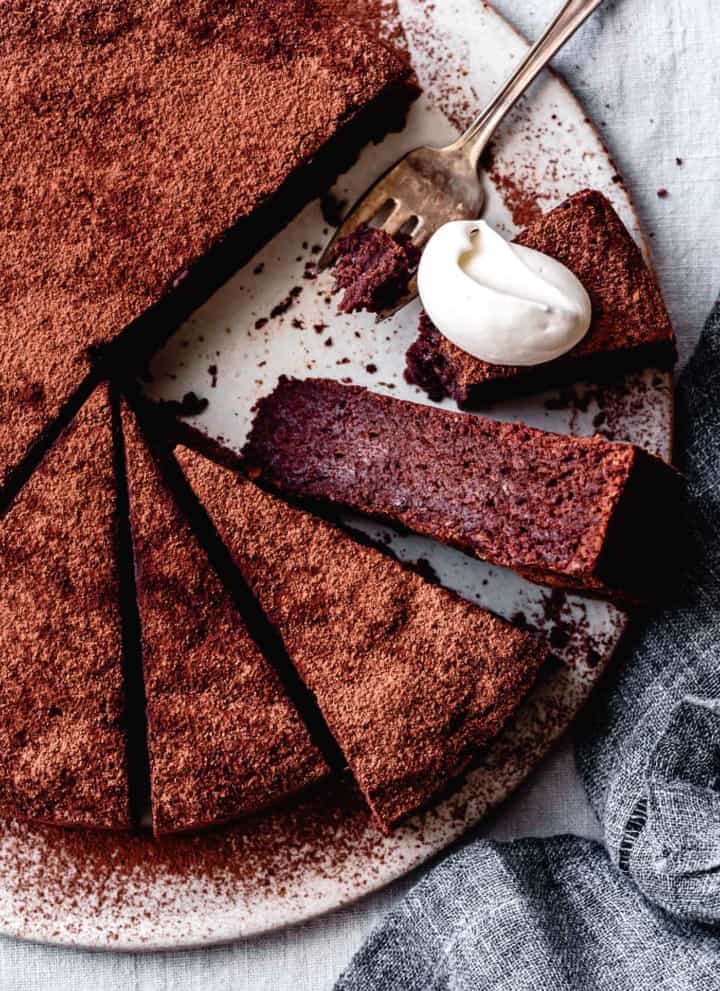
Almond Flour Recipes
Harness the grain-free power of almond flour in these deliciously foolproof recipes.

See more almond flour recipes →
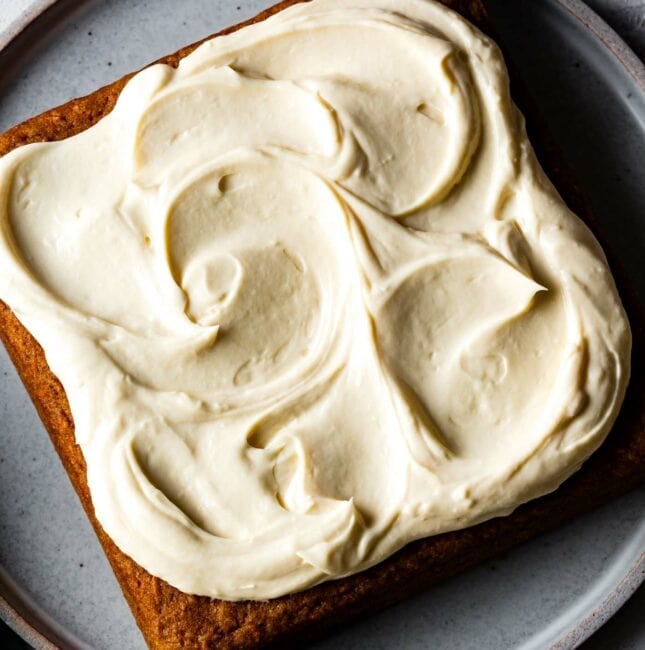
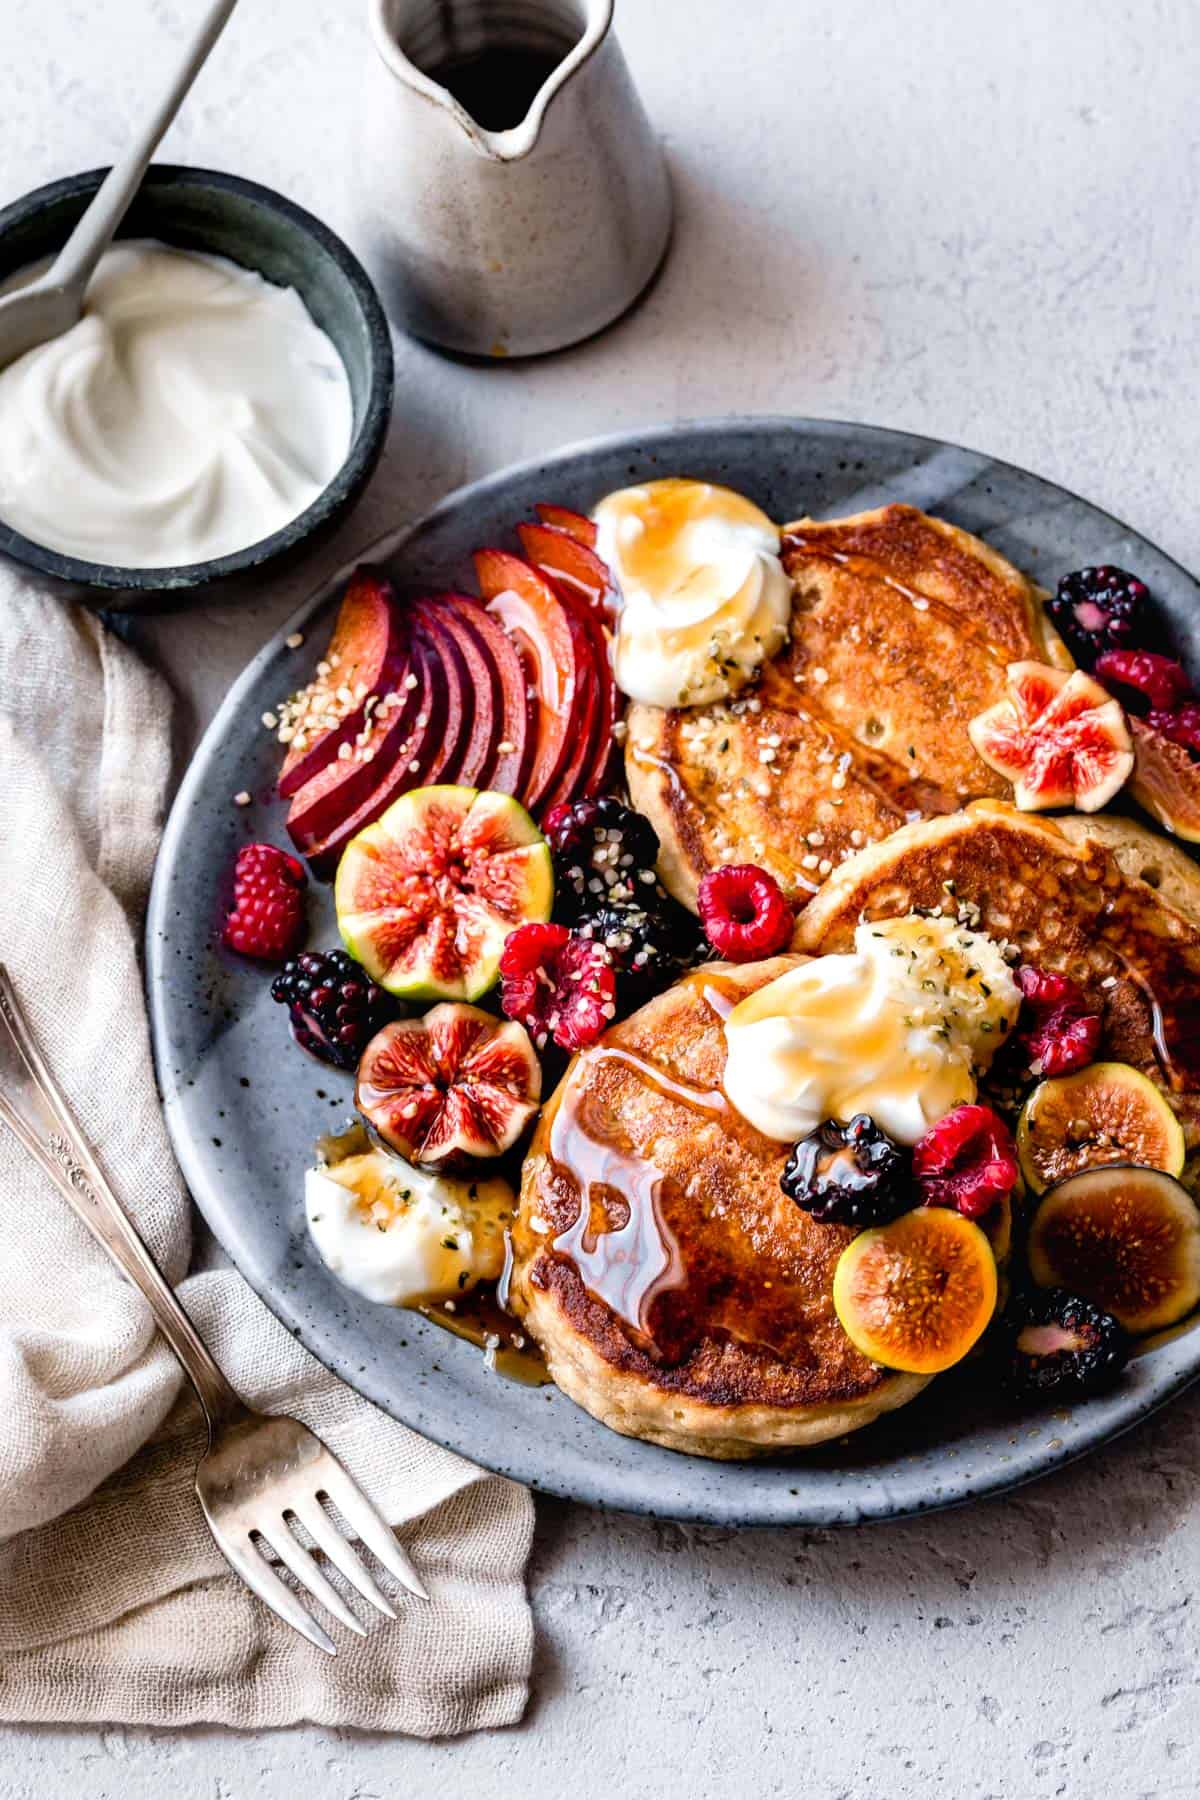
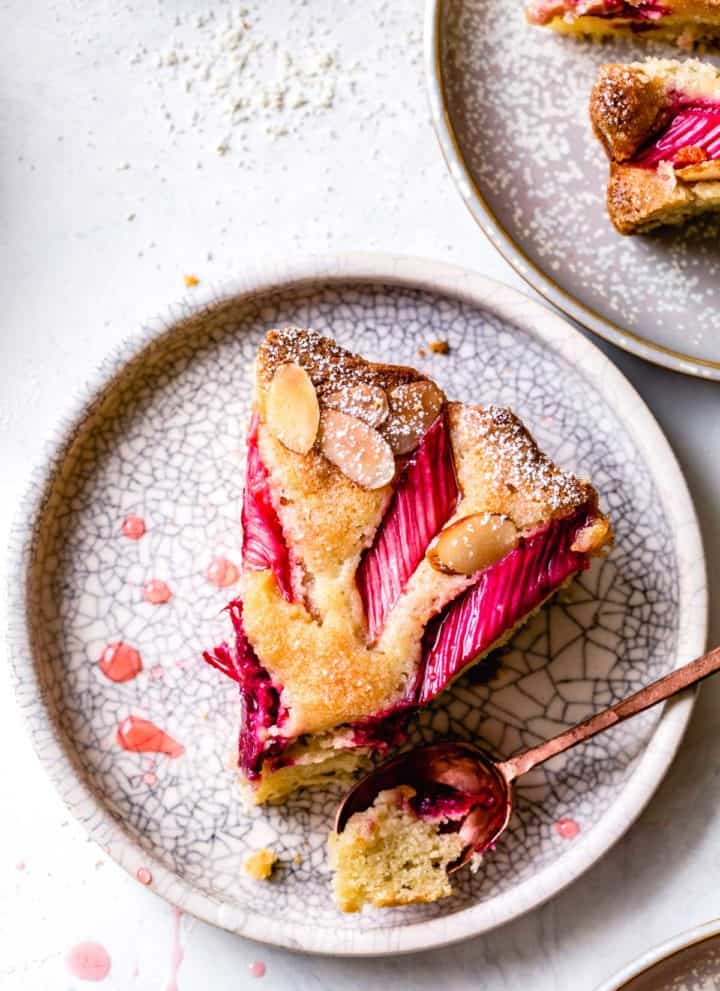
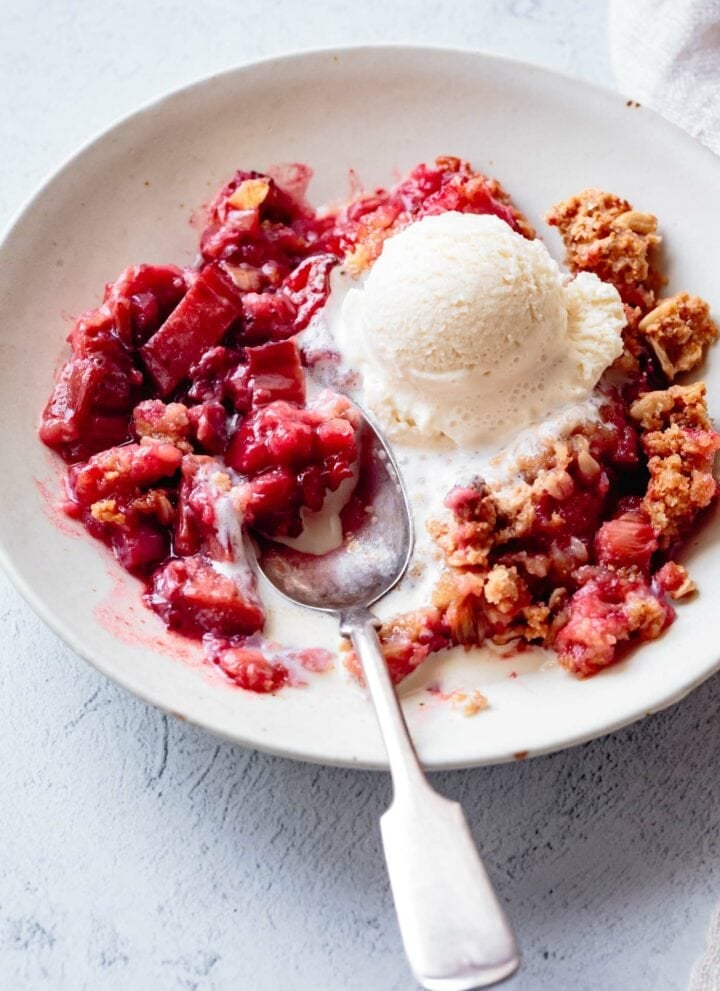
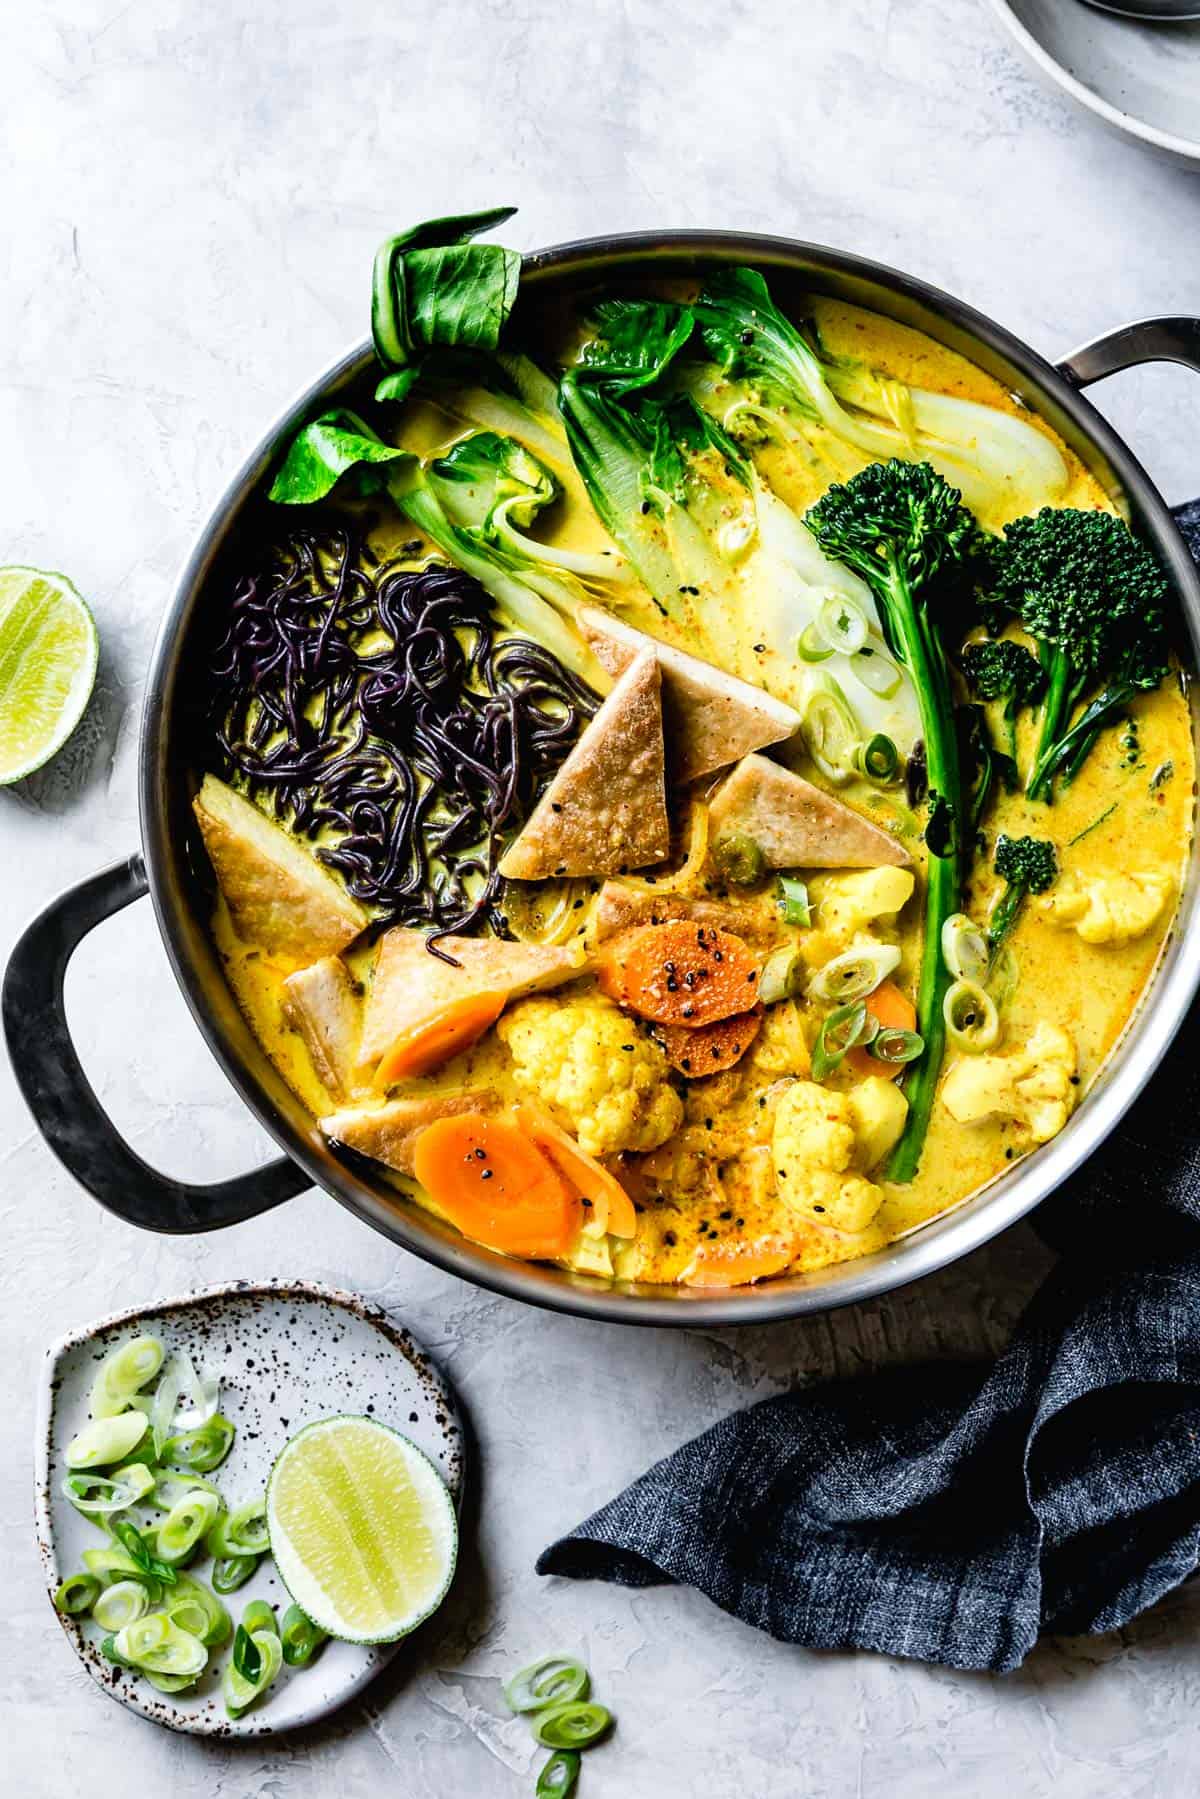
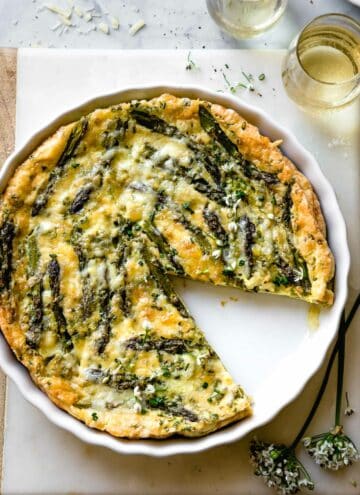
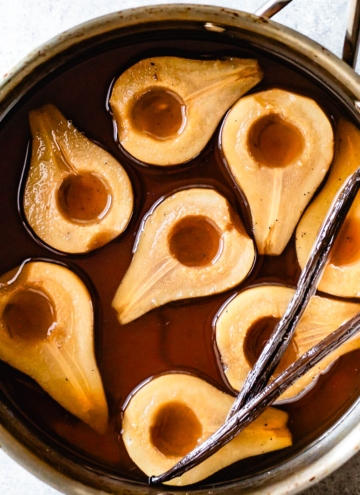
Spring Things
Fresh, vibrant recipes for this season. (In the Southern hemisphere? Browse fall recipes instead!)

Browse Recipes by Category

Gluten-Free Basics
For the best gluten-free pies, tarts, and pastries, you need solid foundations. These recipes and tutorials will give you building blocks for great gluten-free baking!


Want more? Get the cookbook!
Alternative Baker celebrates the unique tastes and textures of 14 gluten-free flours, from buckwheat flour to almond flour to sorghum and coconut! This cookbook will fill your kitchen with sweet treats that burst with flavor every month of the year.
Gluten-Free Passover Recipes
These delicious wheat-free recipes are kosher for Passover – and delicious any time of year!
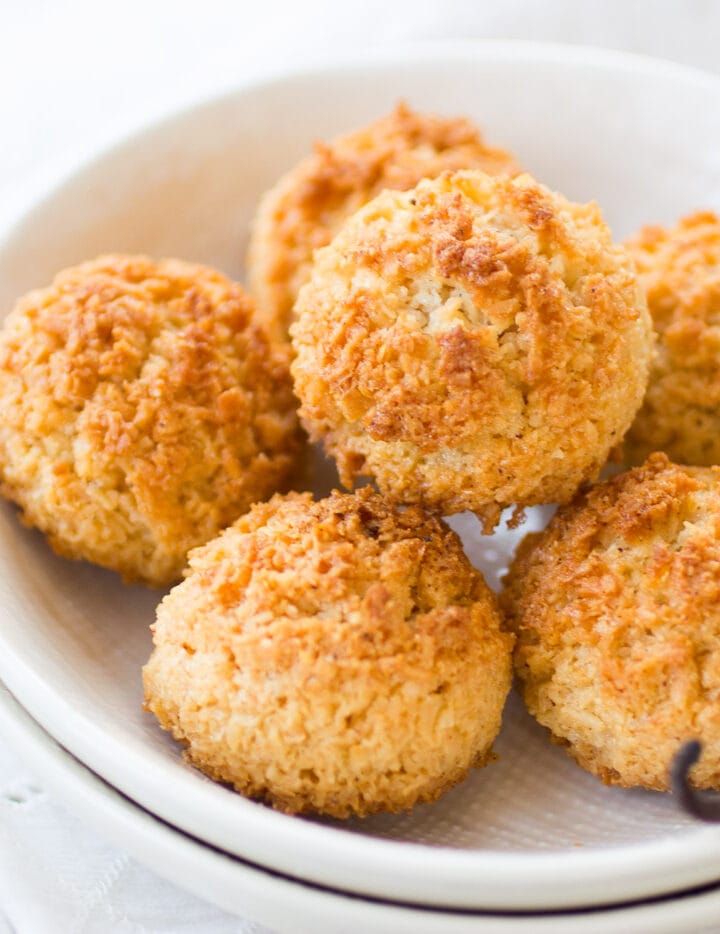
See more passover recipes →
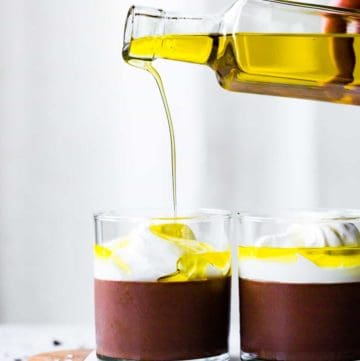
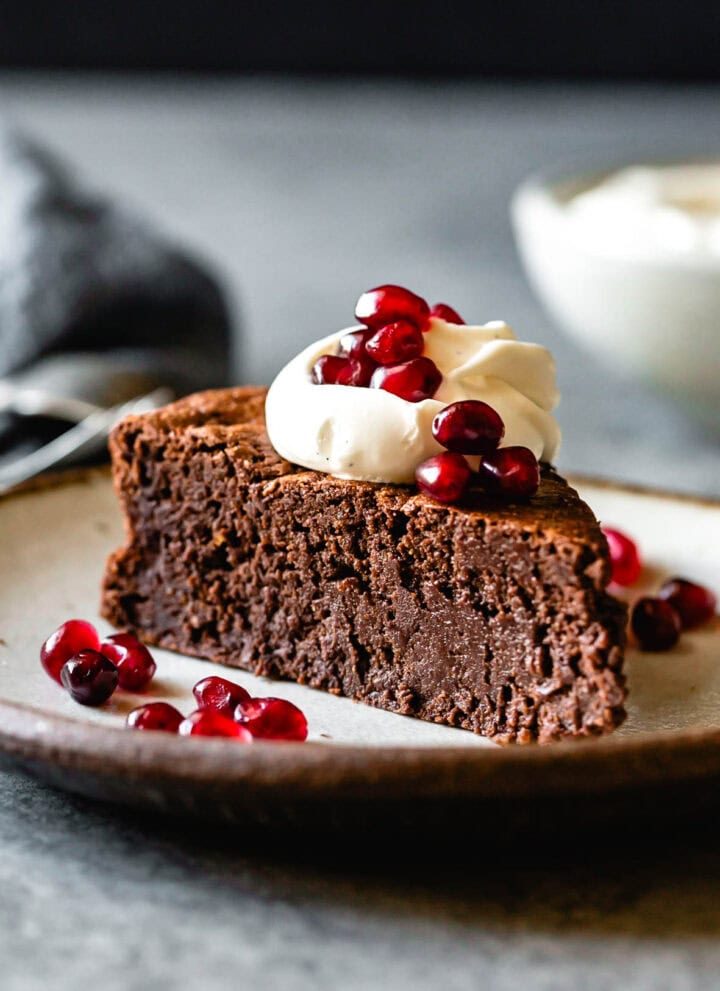
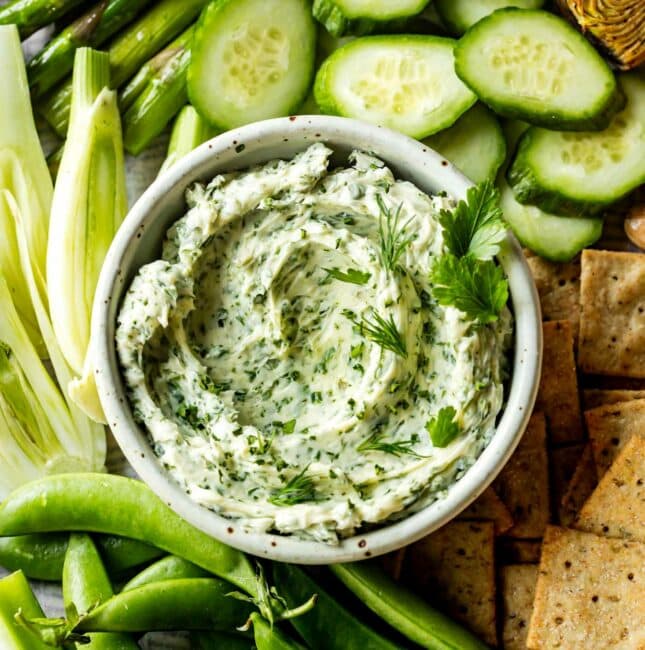
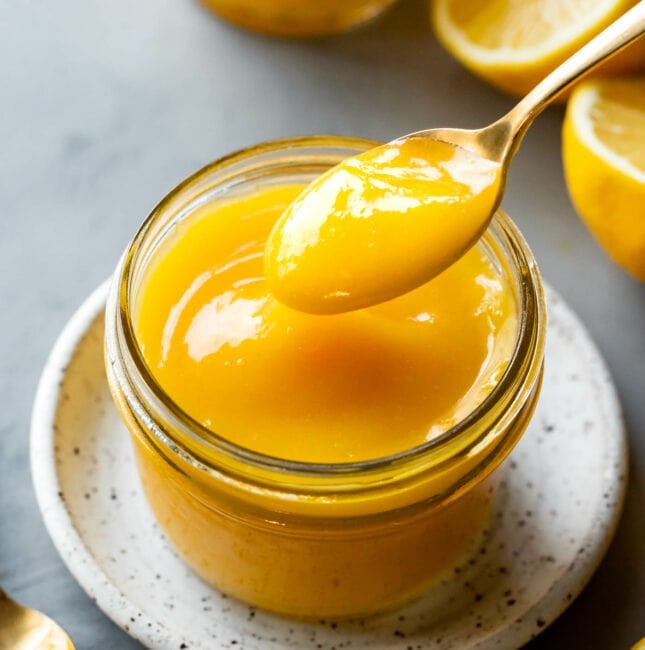
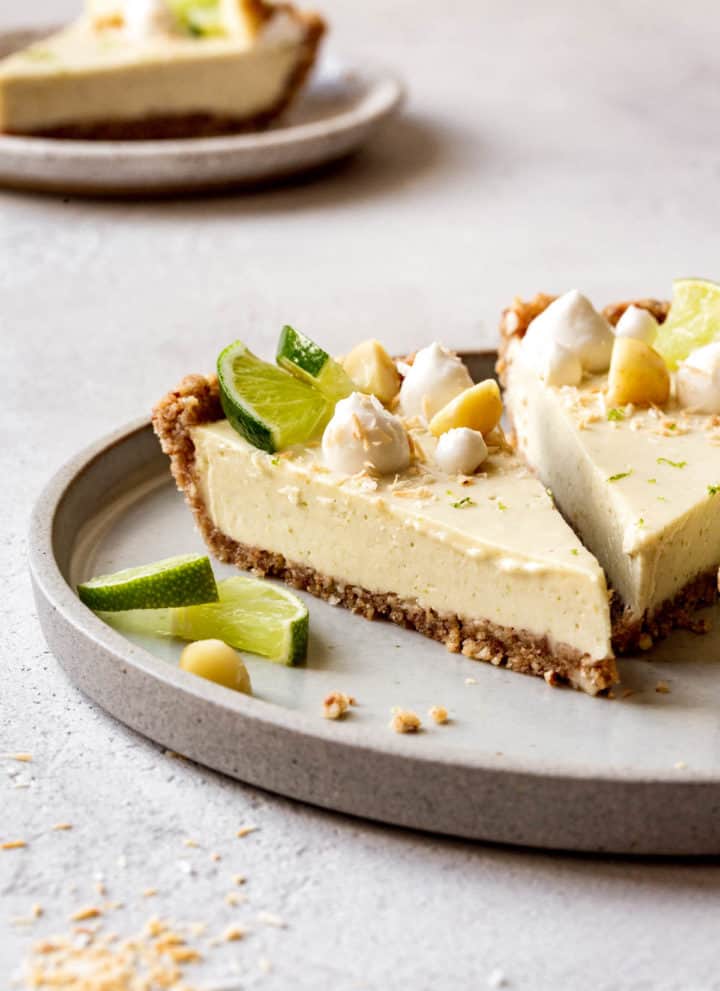
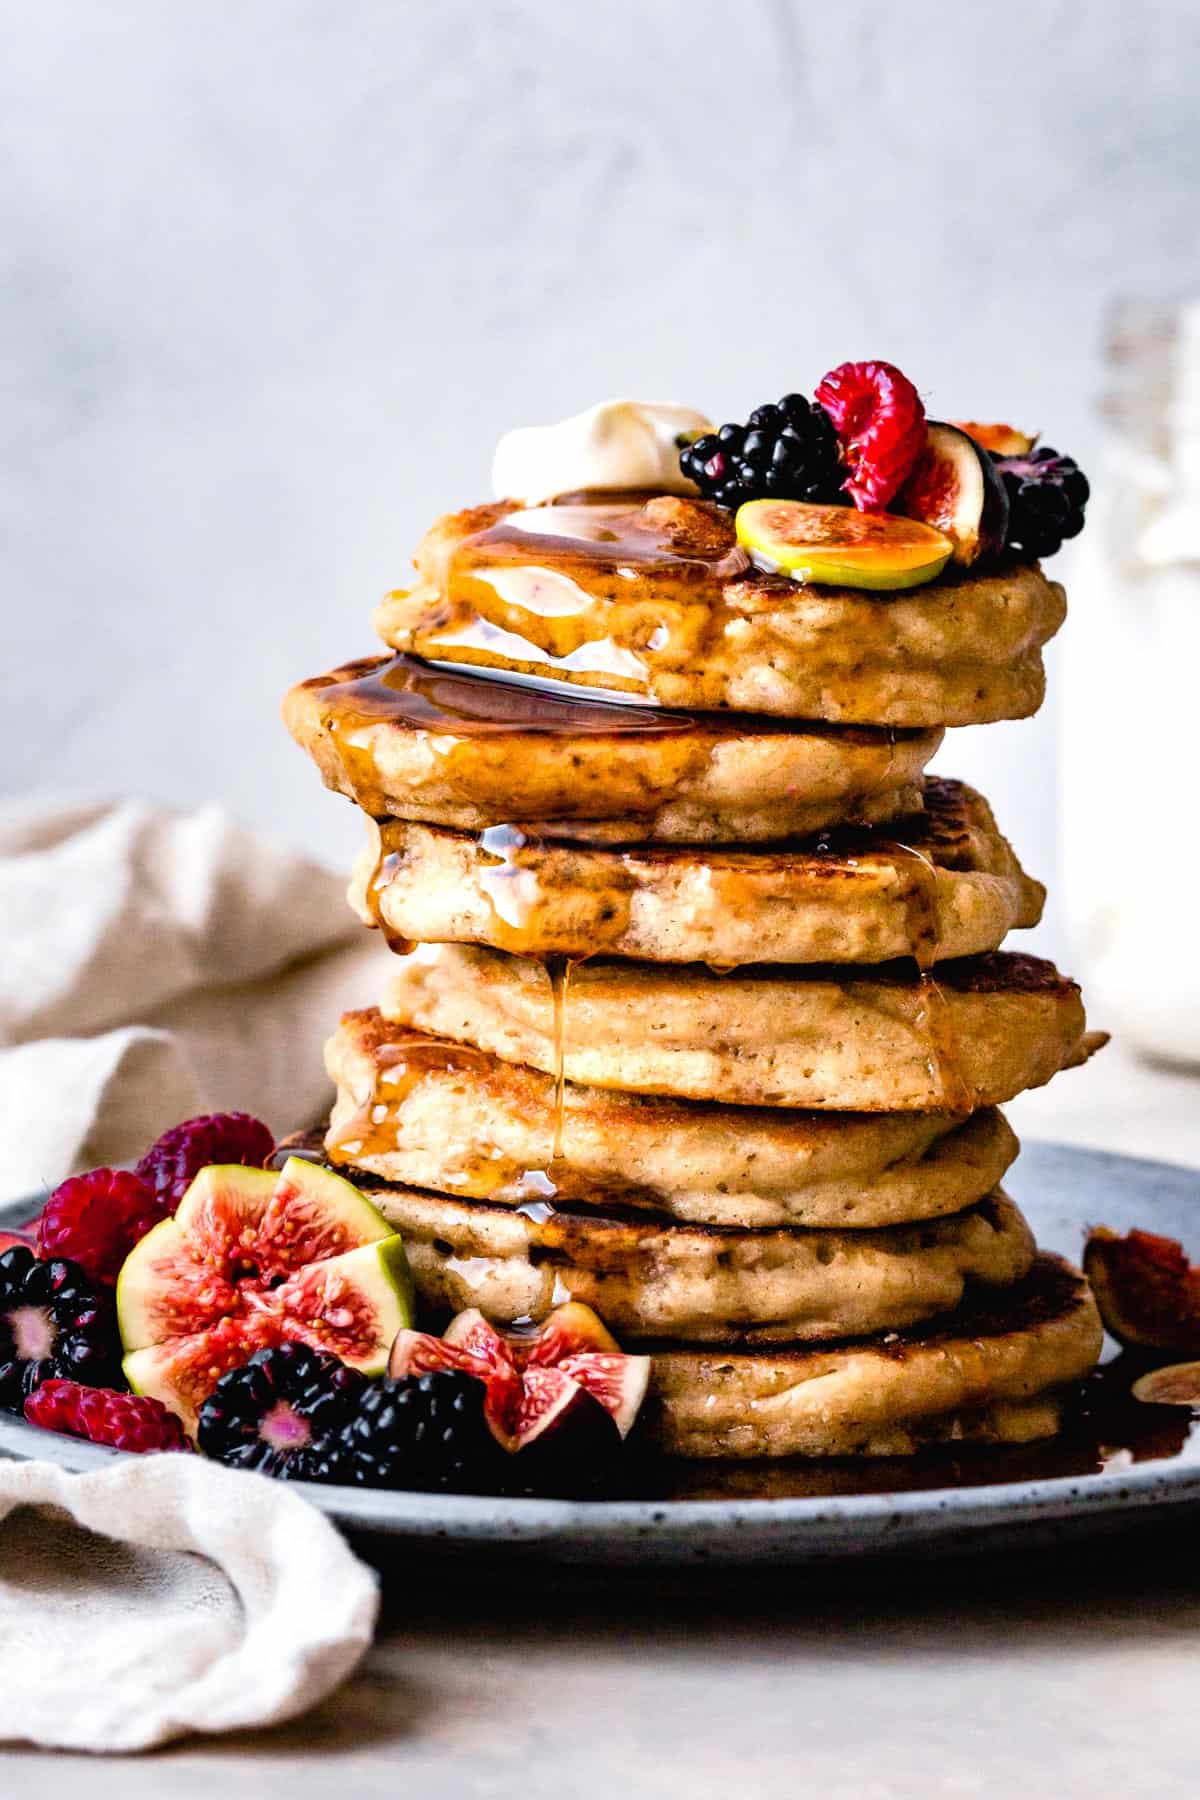
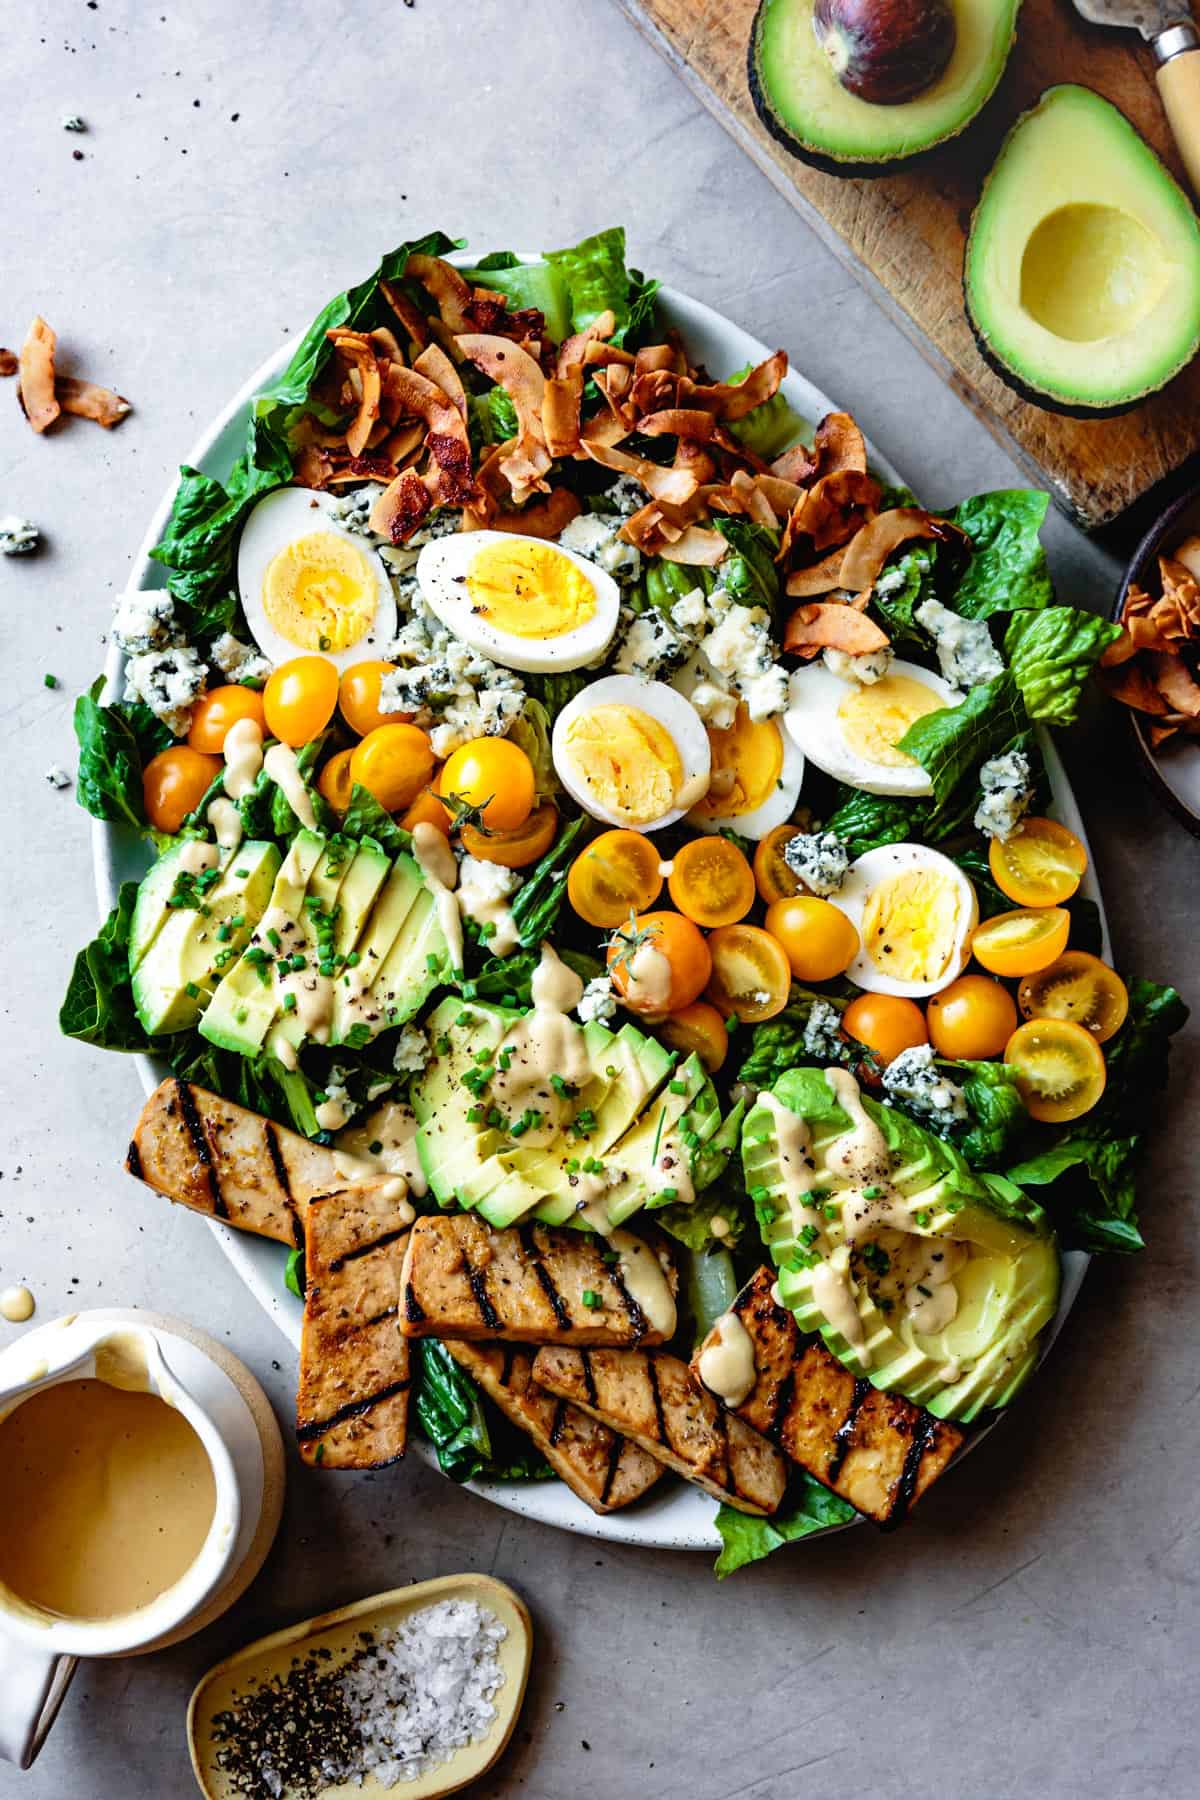
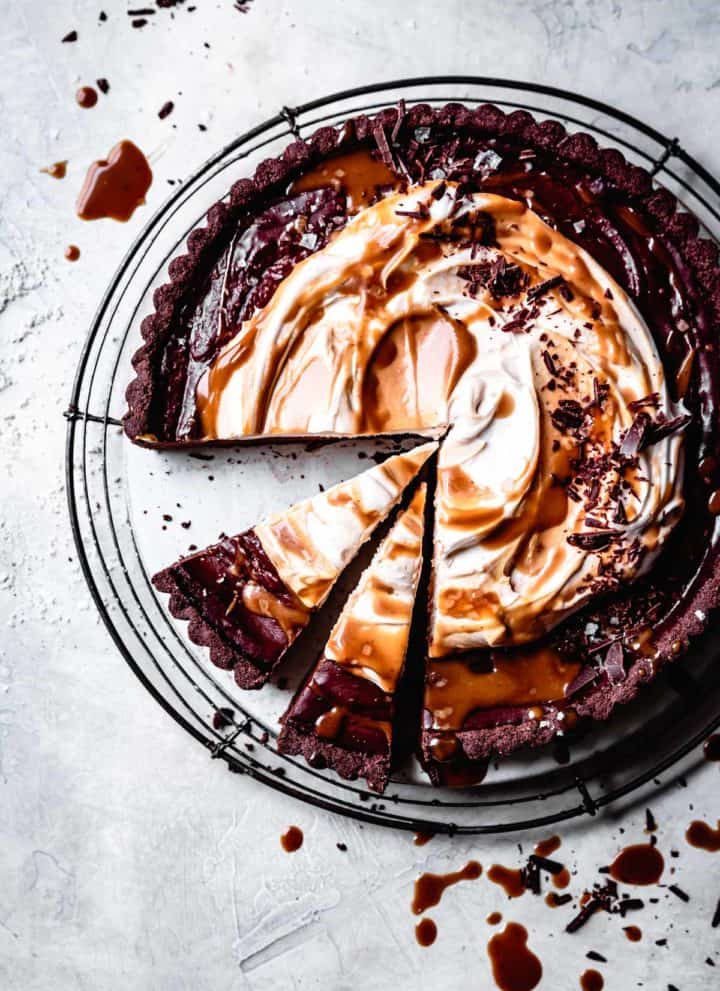
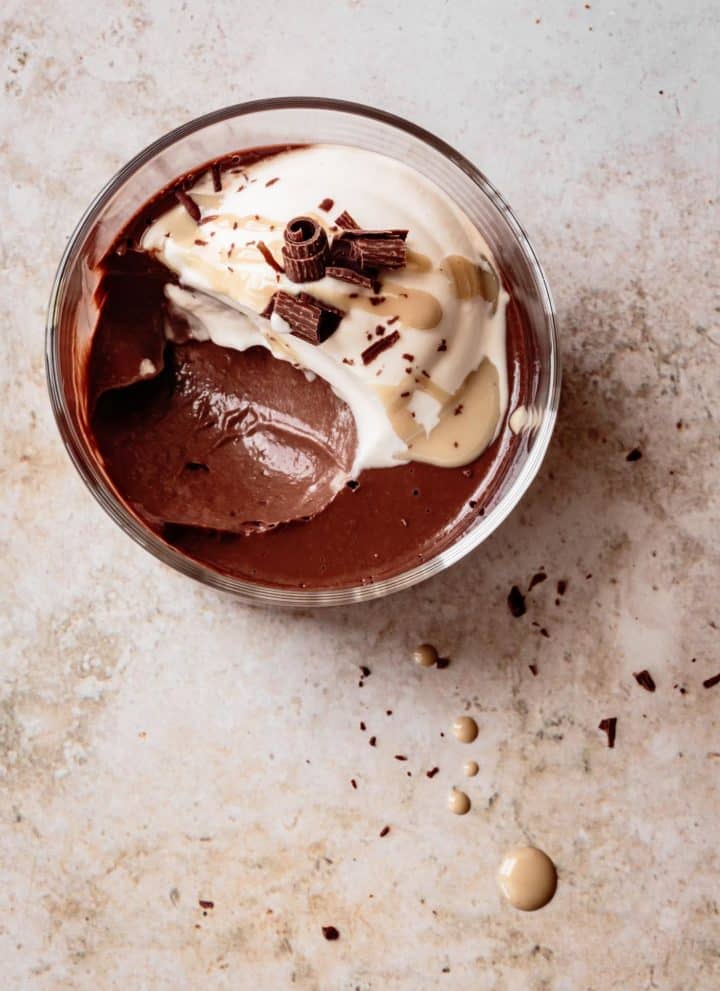
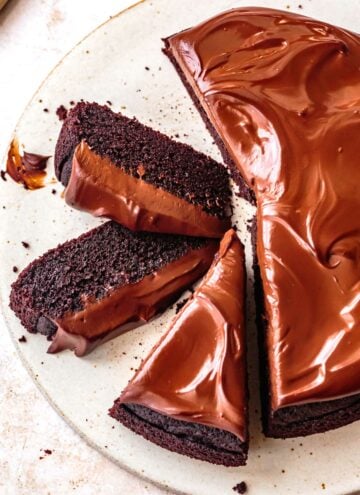
Trending Recipes
These recipes are getting lots of love from readers right now – maybe you'll love them, too.

About Alanna
I'm a recovering pastry chef-turned food photographer, stylist, videographer, and award-winning cookbook author.